


iFunia Video Editor User Guide


iFunia Video Editor is a lightweight video editor tool, it has the trim, crop and rotate functions for you to do basic editing, offers watermark and subtitle tools to allow you to manually add texts and images, and provides built-in effects for you to adjust color and add filters. Too complicated to edit video files? iFunia Video Editor will bring you an easy way to edit video files like a pro.
Part 1 Download & Install
For Mac Version
1. You can download the installation package of iFunia Video Editor for Mac from the below link.
 Free Download macOS 10.15 or later
2. Install iFunia Video Editor with the downloaded package.
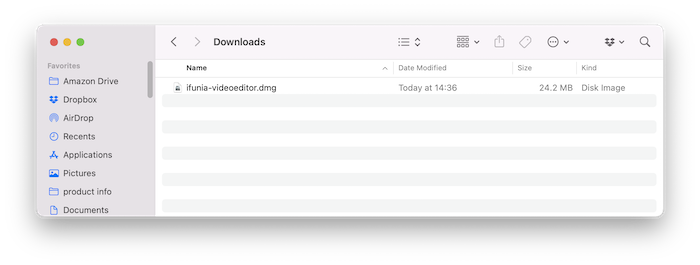
Double-click the .dmg file.
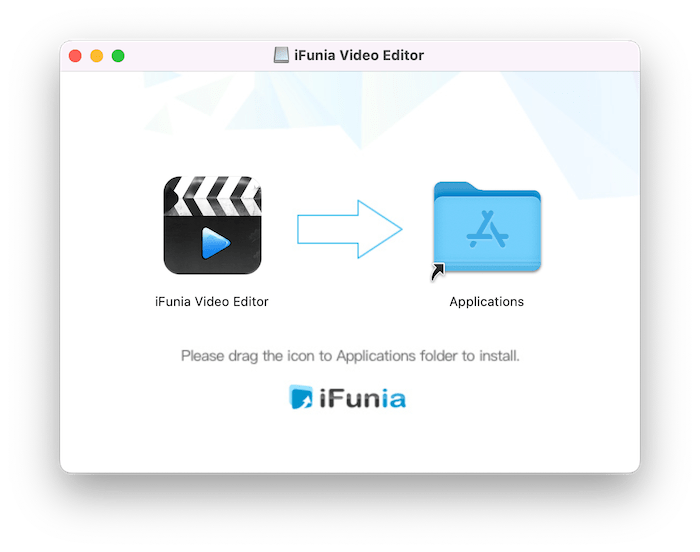
Drag the iFunia Video Editor icon to Applications folder.
For Windows Version
1. You can download the installation package of iFunia Video Editor for Windows from the below link.

2. Install iFunia Video Editor for Windows with the downloaded package.
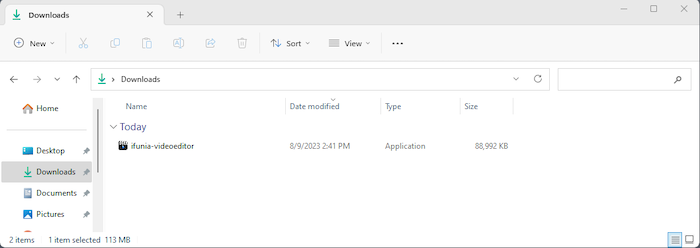
Double-click the .exe file to run it.
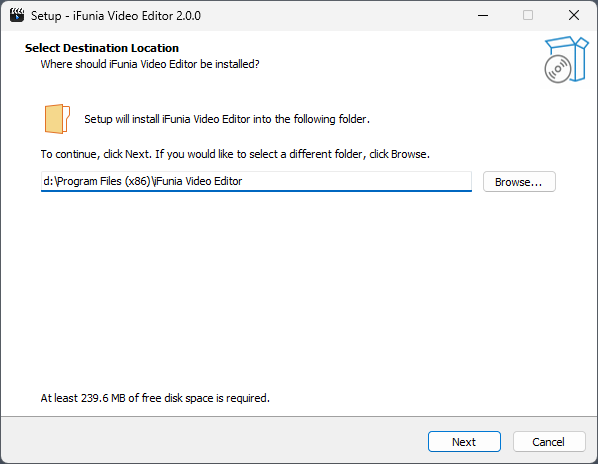
Select a location to install the program (It is recommended to save it under D: drive instead of C: Drive)
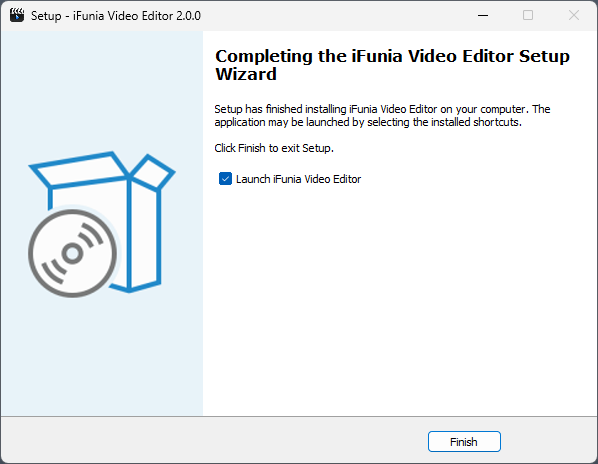
Click Next > Next > Install to continue the installation process, when the below window appears, it means that the program has been installed successfully.
Part 2 Edit Videos for Free
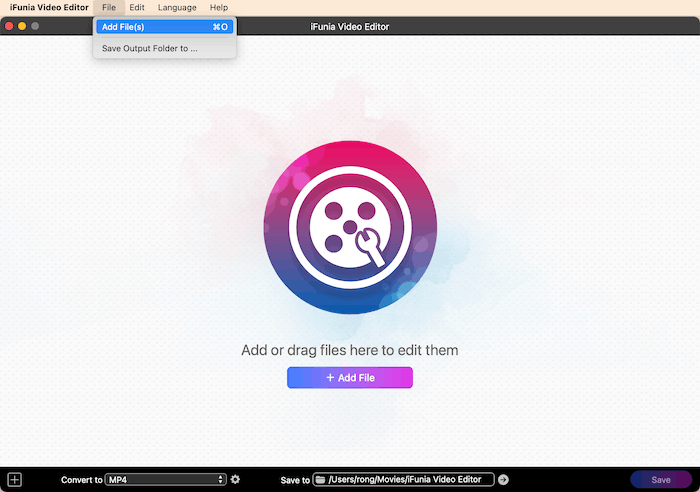
Step 1 Add videos
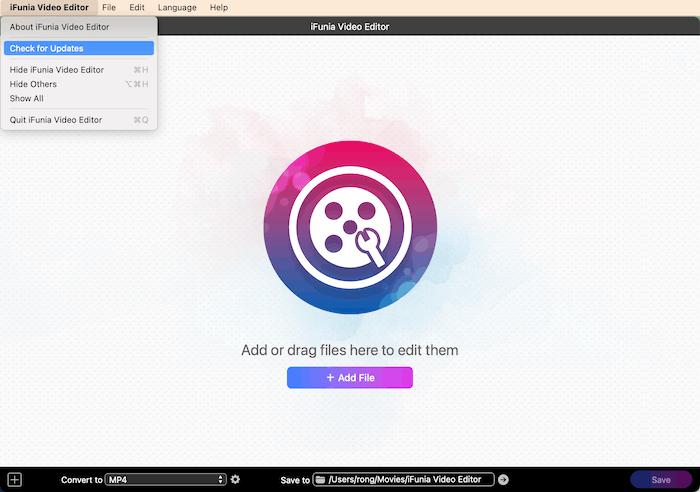
You can directly drag and drop a file, click  ,
,  or click File> Add File and choose a file to add into the program.
Step 2 Edit video
After adding video files, the edit window for each individual video file will be popped up, you can then edit those video files as you like.
a. Trim

1. You can click  or
or  to play/pause the video, and move
  and
and  of the playback progress bar to choose a specific part of the video.
2. You can also manually enter the Start Time and End Time to confirm the clip to be trimmed.
3. To reset the start and end time back to the original, just click 
b. Crop
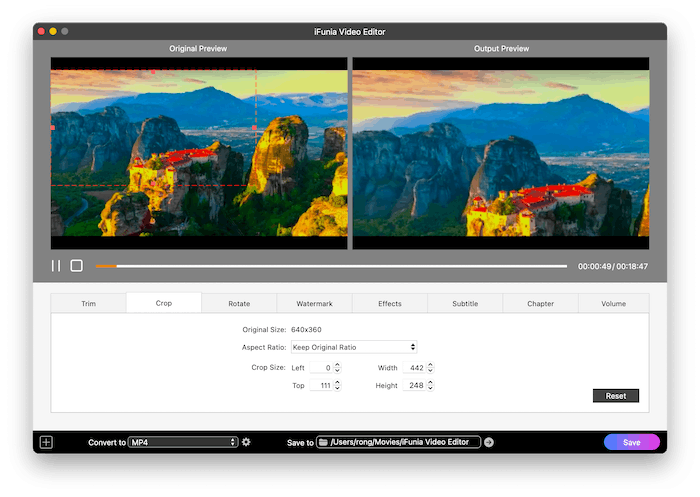
1. Navigate to Crop tab, you can manually adjust the cropping area by dragging the central and surrounding handles.
2. You can also adjust the size and position of cropping area by changing the figures in those four boxes.
3. You can select an output aspect ratio for cropping with four options: Keep Original Ratio, 16:9, 4:3 and Any.
4. To reset the video back to the original, just click
c. Rotate

1. Navigate to Rotate tab, each of the four buttons specifically represents one specific way to rotate or flip the video, click the button as your requirement.
2. To reset the video back to the original, just click
d. Watermark

1. Navigate to Watermark tab, you are allowed to add any text watermark or image watermark to the video.
2. Text watermark: select the "Text type", type the content in the box, pick its font and color by clicking  and
and  , and set its position and degree of transparency.
3. Image watermark: select the "Image type", click  to choose the image to be used as a watermark, and set its position and degree of transparency.
e. Effects
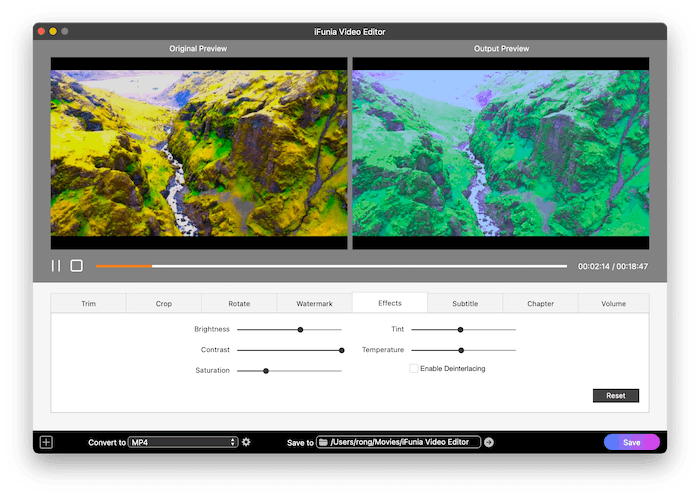
1. Navigate to Effects tab, set the degrees of Brightness, Contrast, Saturation, Tint, Temperature by resetting their respective control sliders.
2. Choose a special effect for the output video from the list in "More Effects" option box.
3. In this section, you also can find the deinterlacement feature, which can turn interlaced videos into a non-interlaced form, enhancing spectators viewing experience rather appreciably. And it is also quite easy to use. Just need to check the box of "Enable Deinterlacing".
4. To cancel all the effects and reset the video back to the original, just click
f. Subtitle
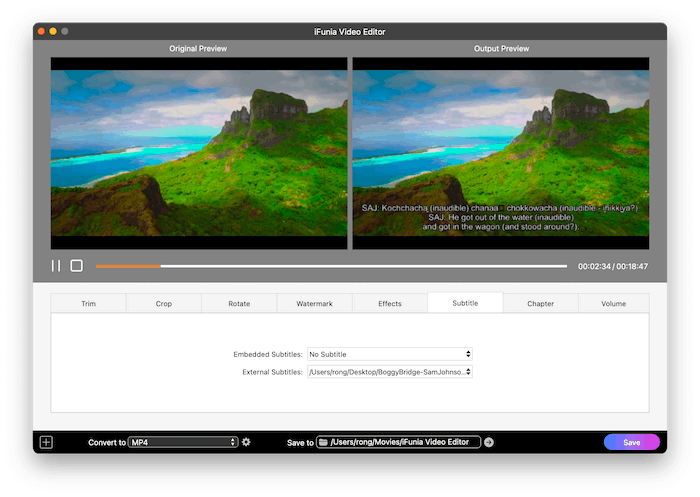
Navigate to Subtitle tab, and then you are able to select embedded subtitles the video includes or import an external subtitle files from your local drive.
Note: iFunia Video Editor supports .srt, .ass and .ssa subtitle file.
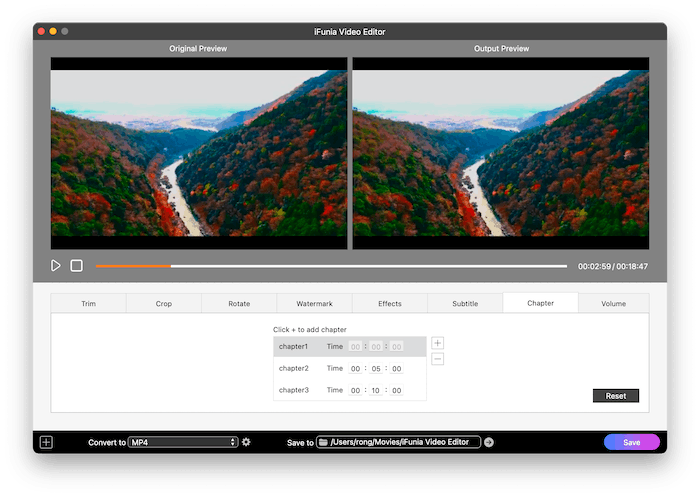
g. Chapter
If you have a long-length video file, you can add chapters for this video for easy navigation. Just navigate to the Chapter tab, click  to add a chapter and then set the chapter's start and end time.
You can click  to remove the unwanted chapter or click to return to video's initial chapter status.
h. Volume

1. In some cases, the voice of the original video is too loud or too low, if you want to adjust it, you can navigate to Volume tab, slide the volume bar as you like.
2. In addition, if you want to add “Fade In” effect at the beginning of the video or add “Fade Out” effect at the end of your video, tick the option “Fade In” or “Fade Out” and then select the duration.
Step 3 Save the edited video
Choose a location via "Save to" and then click 
Part 3 Update iFunia Video Editor
We always suggest users to use the latest version of the program.
When you launch iFunia Video Editor, iFunia will auto check for updates.
Also, you can click iFunia Video Editor > Check for Updates… on the left top menu bar to manually update it.

Jessica Nielsen has worked in iFunia for 8 years, she is very familiar and professional with video parameters and iFunia’s programs, and can provide accurate and useful suggestions to iFunia users.
Comments (0)
Leave a Reply